Follow these instructions to set up the Cykelstrom app for the first time.
Tap the Cykelstrom Icon to start the app.
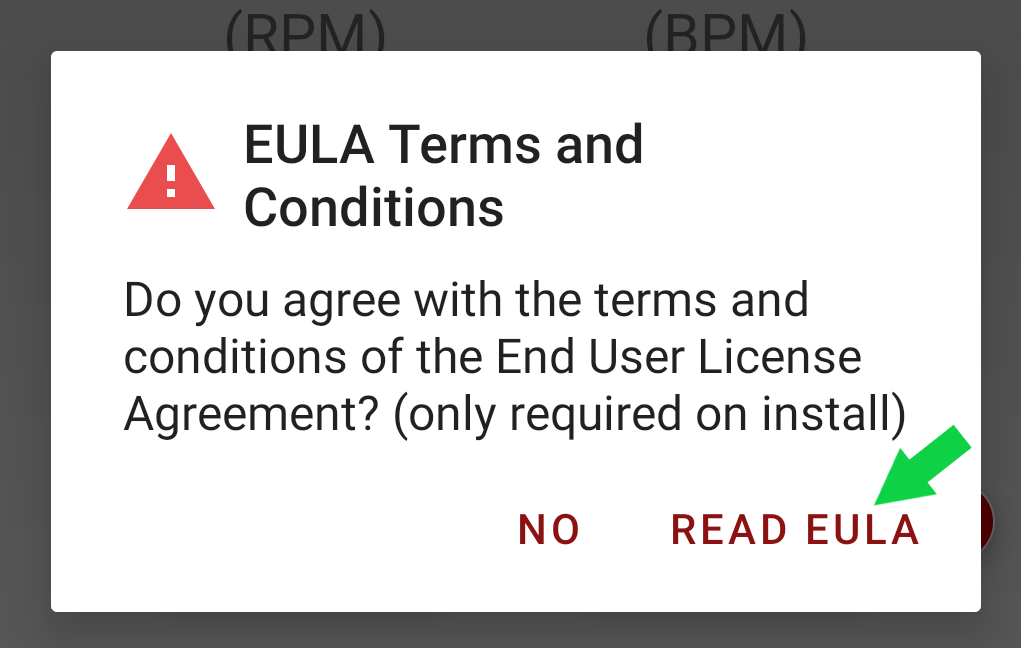
Read the End User License Agreement, Tap “READ EULA.”
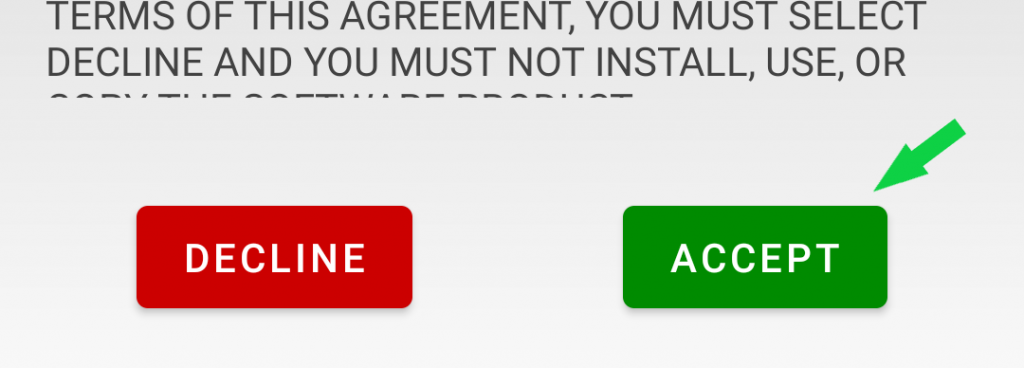
After reading the EULA, Tap “ACCEPT” at the bottom of the screen.
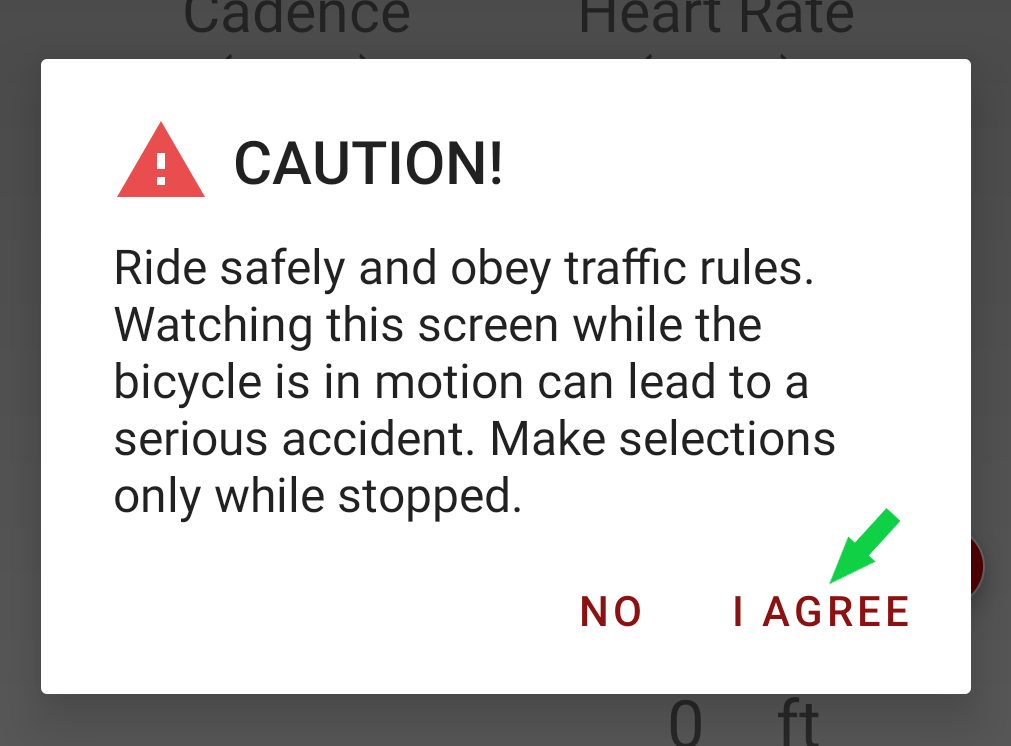
Read the CAUTION! about distracted riding, Tap “I AGREE.”
Tap the drop down menu dots/kabob in the upper right hand corner to display the drop down menu.
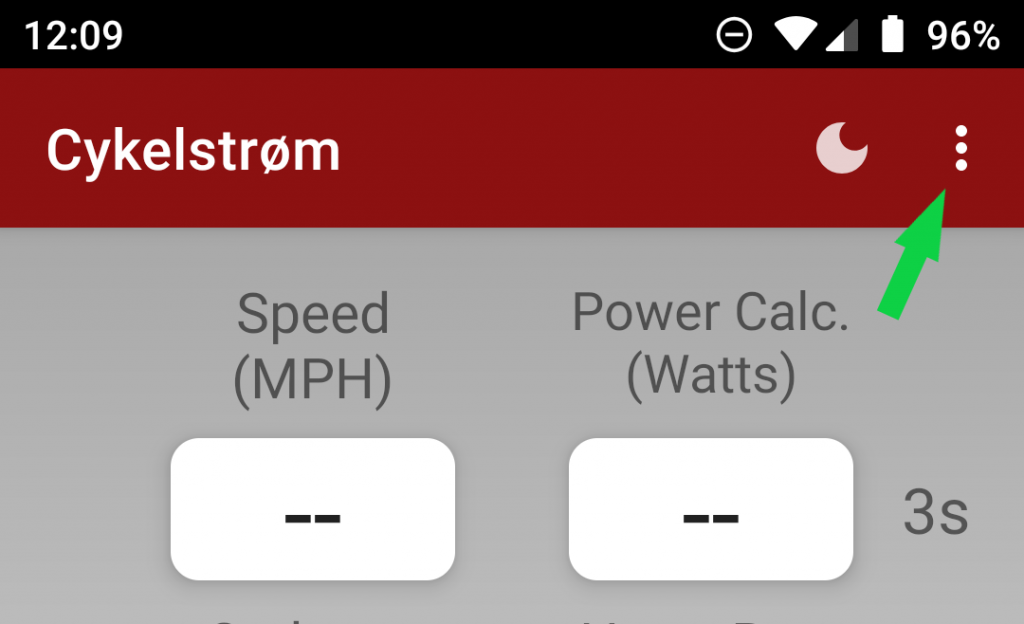
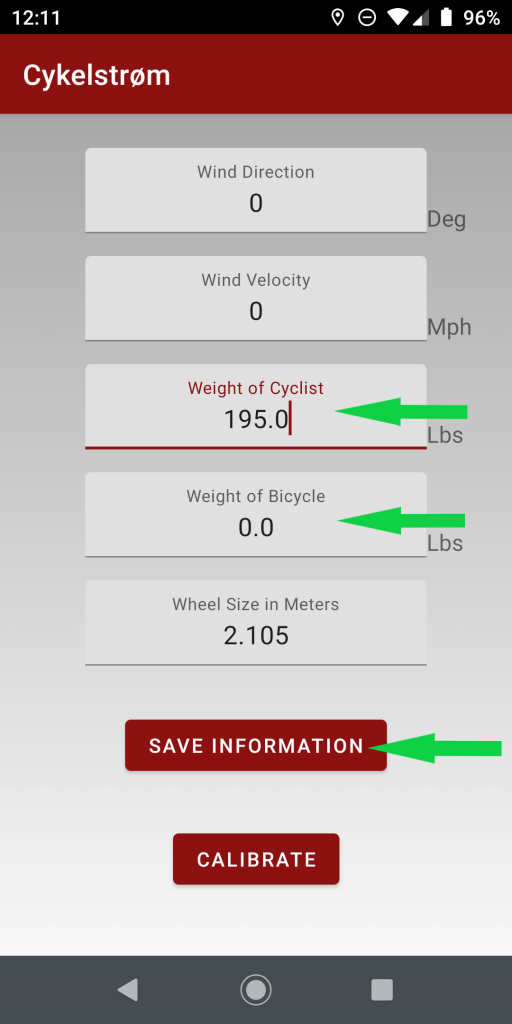
Tap “Set Ride Parameters.”

Tap “Weight of Cyclist” and enter your weight.
The weight of the cyclist should be your current weight including any clothing, shoes, sunglasses and helmets.
Tap “Weight of Bicycle” and enter the weight of your bicycle.
The weight of your bicycle should include any filled water bottles, snacks, accessories, and smartphones you may carry.
The bottom line here is, an accurate weight will give you more accurate data.
Tap “SAVE INFORMATION” to save your parameters.
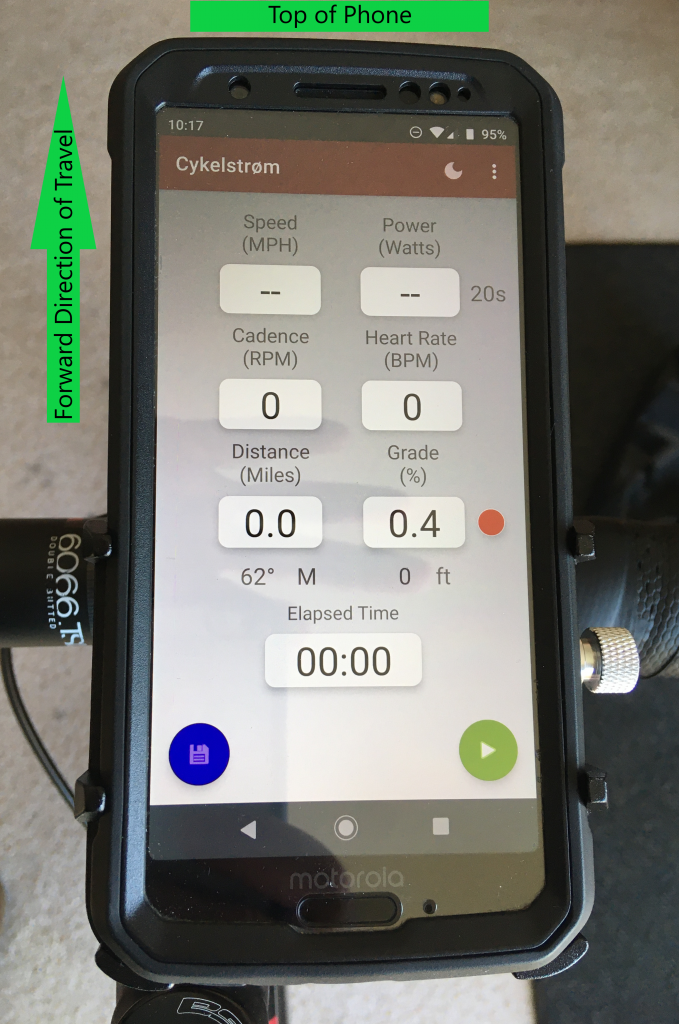
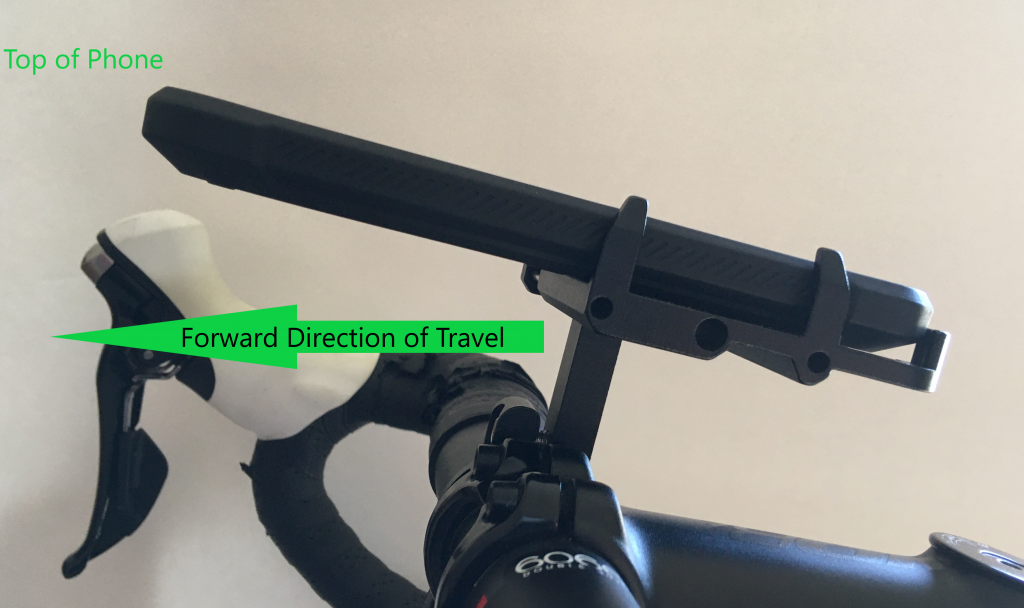
Mount your smartphone on your bicycle and complete the frame sag calibration procedure as follows:
The phone can be mounted at any reasonable angle where you can comfortably see the screen. The viewing angle of the phone is dependent on model and rider position.
Place your bicycle on a flat level surface, for example a sidewalk or parking lot.
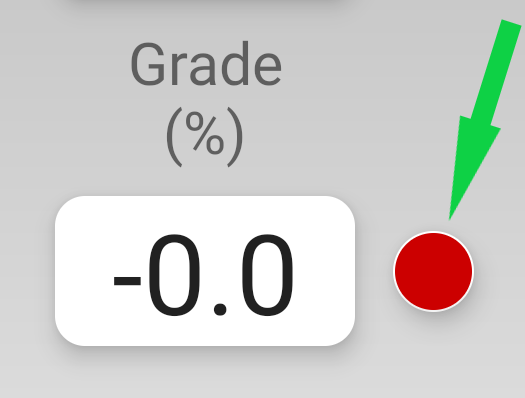
To calibrate the reference parallel to the ground, sit on your bicycle and place your weight on the handle bars.
Prevent the bicycle from moving, with your weight on the handle bars, tap the RED DOT button next to the “Grade %” display until you get a reading close to zero. This calibrates out the error due to frame flex, sag, uneven tire pressure and relative smartphone angle.
The “Grade %” display is very sensitive, so you may need to try this a couple of times until you get a reading near zero.
Any Grade % reading between +.5 or -.5 is acceptable.
Notice if you take your weight off of the handle bars this number will change. The idea is to calibrate the “Grade %” on a flat level surface in your normal riding position for best accuracy.
You are now ready to ride. To start displaying and recording your data, tap the green “START” Button.
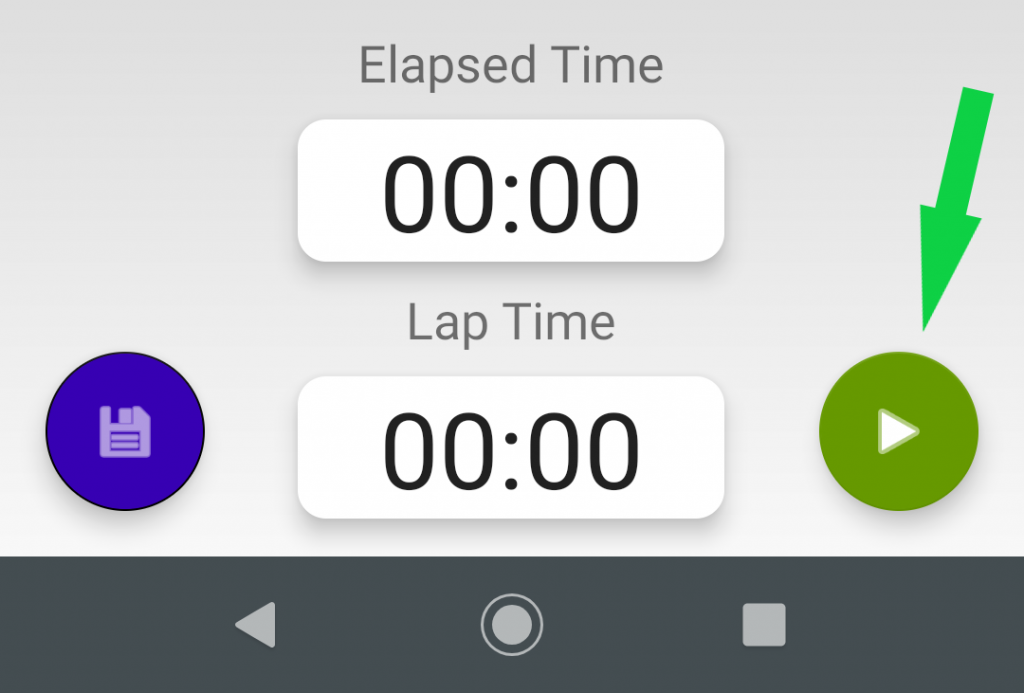
Begin your ride!
If you wish to stop or pause recording, tap the red “PAUSE” button.
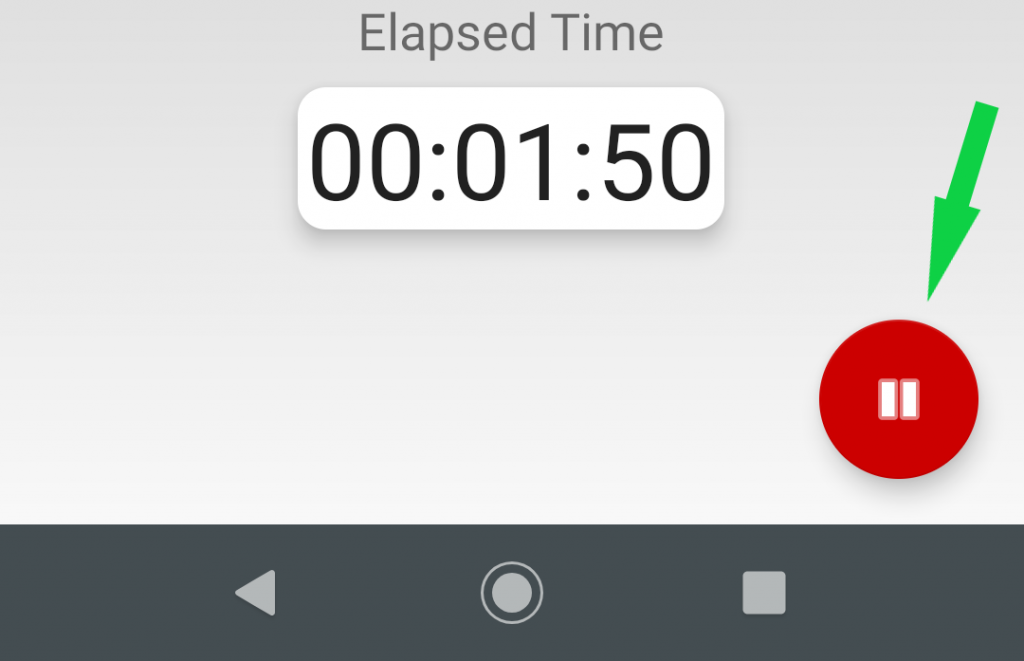
If you wish to continue riding, just tap the green “START” button to continue recording your ride.
Note: pressing the green “START” button will also add a lap and reset the “Lap Timer” if displayed.
If you wish to end your ride and save your data, tap the blue “SAVE” button. The blue save button looks like a floppy disk. What’s a floppy disk? Google it.

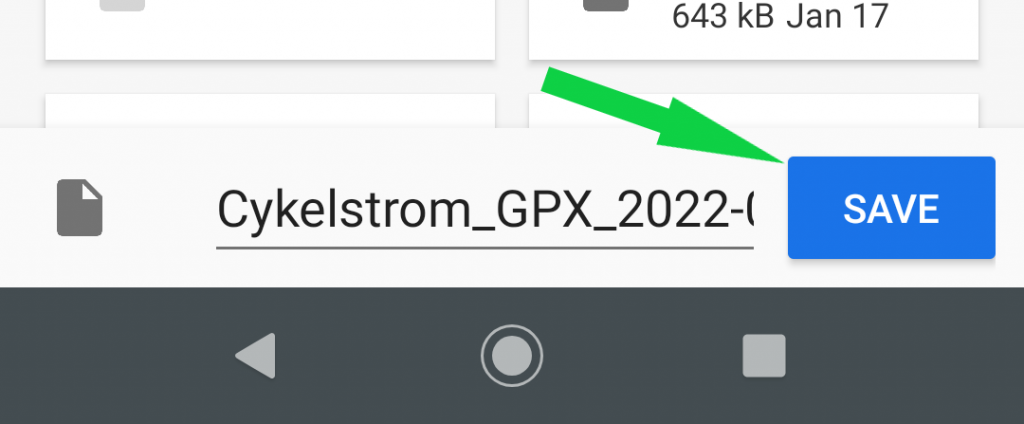
You have the ability to change the file name at this point or you can accept the default.
Tap “SAVE” to save your .GPX file.
This is the file you would upload to your favorite fitness app like “STRAVA.”
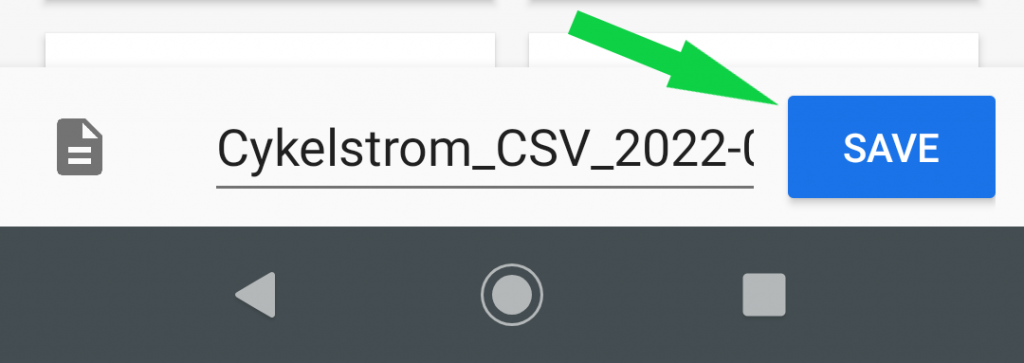
Tap “SAVE” again to save your .CSV file.
This is the file you would use to import your data into your favorite spreadsheet app like Google Sheets or Microsoft Excel.
Congratulations! you have mastered the very basics of the Cykelstrom app. For more detailed use and features read my other tutorials.
Happy Riding,
Chuck, support@cykelstrom.com


